Pollinator Garden Progress

Over a year ago I dug into converting my perennial gardens to include more native plants as resources for pollinators. The first thing I did was dig out several large patches of bugbane (Actaea sp.) to make room for more of a variety of species. While the bugbane was actually a favorite of the bumble bees, it was a prolific seeder and it’s high, dense leaves crowded out many other plants. I did keep one small patch contained between the house and a brick patio, but the rest I tore out with a vengeance, along with a couple other weedy species. I then covered the area with a double layer of cardboard that stayed in place through the fall, winter, spring and summer until I took it up only recently.

20181026_163448071_iOS

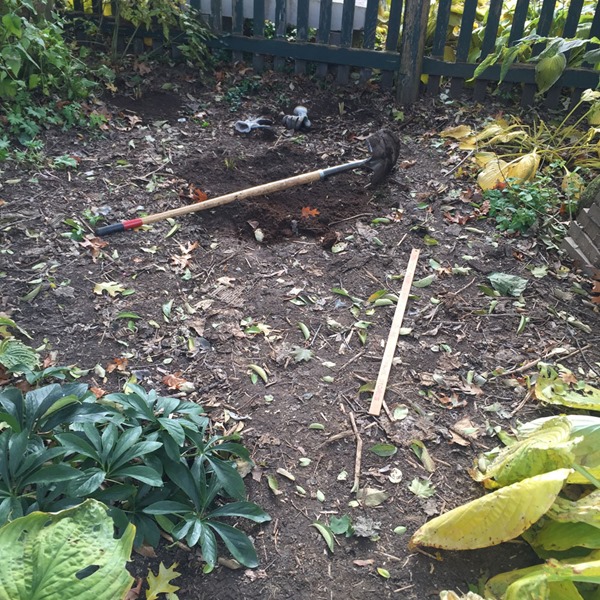
Between the cardboard treatment and the strategic relocation of the Eutrochium and a couple of Hosta I ended up with three decent-sized areas of bare ground waiting for me to plug in new plants.

20181026_154424443_iOS

20181026_164033664_iOS

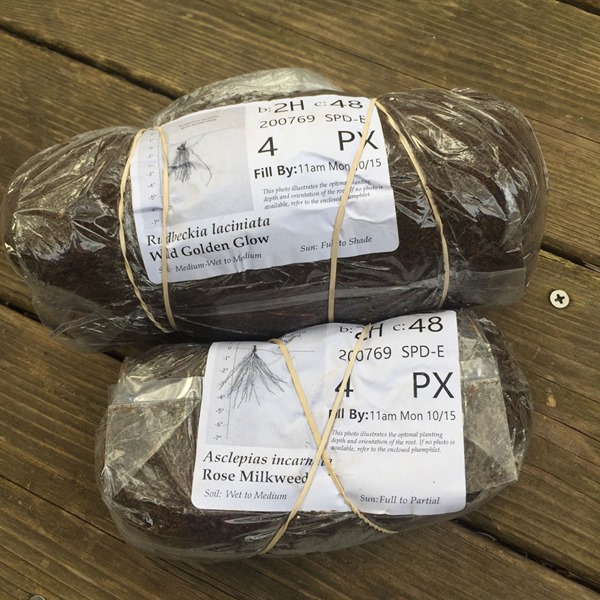
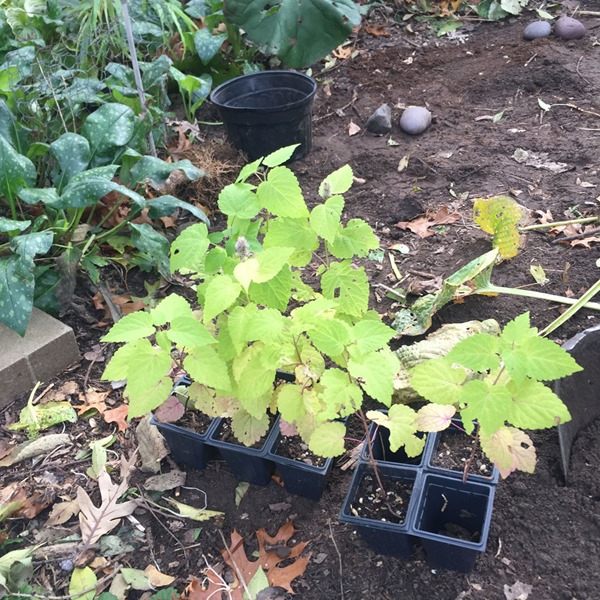
I had bare-root Rudbeckia laciniata and Asclepias incarnata I got from Prairie Moon Nursery. The plants were very robust so I expect them to be awesome next season.

20181026_165328152_iOS

I also had several Agastache foeniculum in pots I grew from seed as well as seed-grown plugs of Allium cernuum, Elymus hystrix, and Symphyiotrichum shortii.

20181026_211732445_iOS

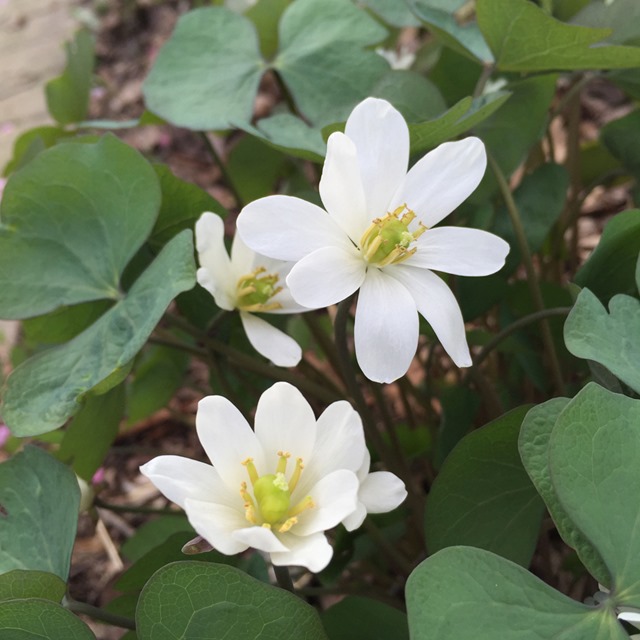
To round out the variety a friend gifted me a boxful of excess Polemonium reptans from her garden and I purchased some end-of-season sale Monarda of some cultivar whose name escapes me at the moment. It will be interesting to watch for visitors to the Monarda as there is a discussion going on currently in some circles about the attractiveness to pollinators of cultivated varieties of native plants.

20181026_211723375_iOS

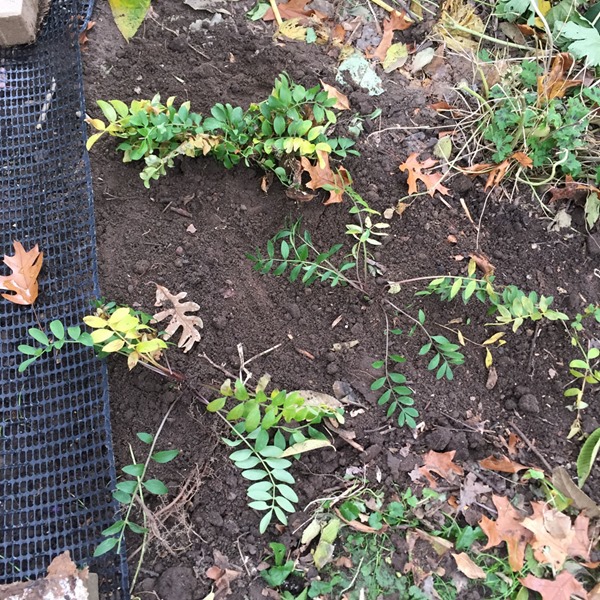
Since digging squirrels are an ongoing problem at Brakewynde I covered the most vulnerable of the transplants with plastic hardware cloth. The smaller plants were going dormant anyway so I just gently bent them to the side. The bare-root transplants had taller, stiffer stems so I placed cobbles on either side of each one to keep the plastic from crushing them.

After the transplanting was complete we had several days of gentle rain showers to help settle them in and then the leaves fell in earnest providing an insulating layer. My intention is to get the plastic off next spring as soon as shoots start to appear. Despite having quite a few plants there is still space to fill so I’m going to spend some time this winter prioritizing which species I will be obtaining early next year. I’m very much looking forward to enjoying a greater variety of blooms in 2019 and, with any luck, a greater volume and variety of visiting bees, hoverflies, butterflies, moths and beetles.

Garden Update Mid-May

I made a quick visit to the garden the other day so I thought I’d do a quick update to share what’s going on. The short version is: not much. The weather has been on the cool side so the things I have planted or transplanted are poking along and other things, like beans, that I would have pushed other years haven’t even gone in yet.

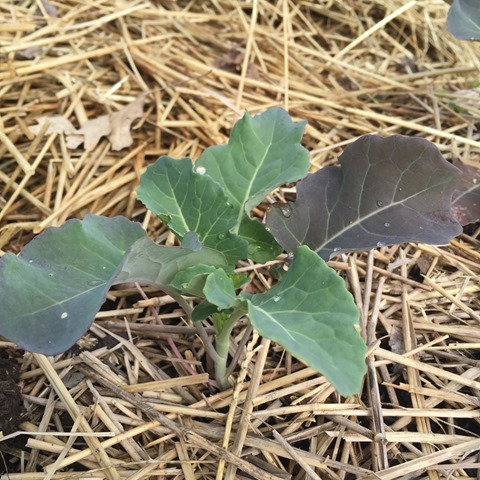
Broccoli

The broccoli is looking great. Cold doesn’t phase it. I’ve been really happy with this particular hybrid, Belstar.

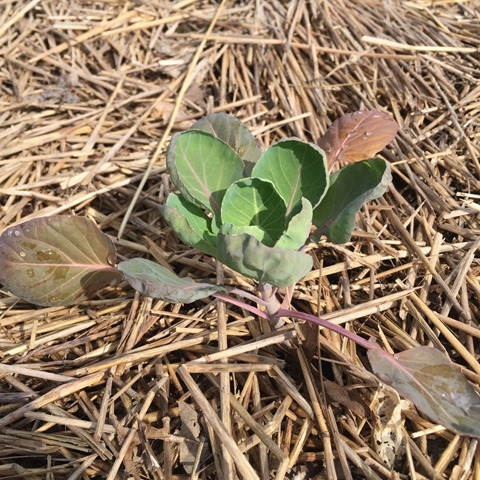
Brussels Sprouts

The same can be said for the Brussels sprouts. I didn’t start seeds for the sprouts this year but instead bought a four pack at the farmers market. I planted all four for insurance since last year neither of the two plants I put in made it to harvest.

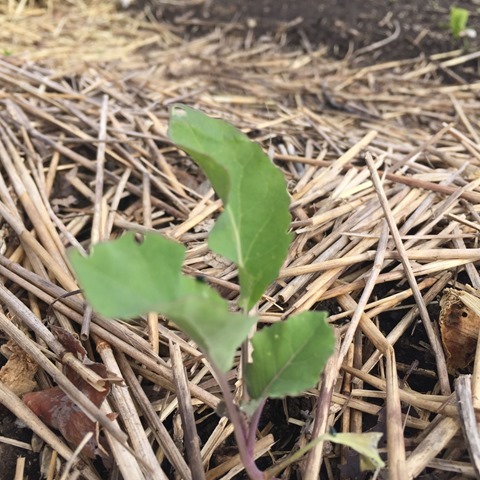
Cauliflower

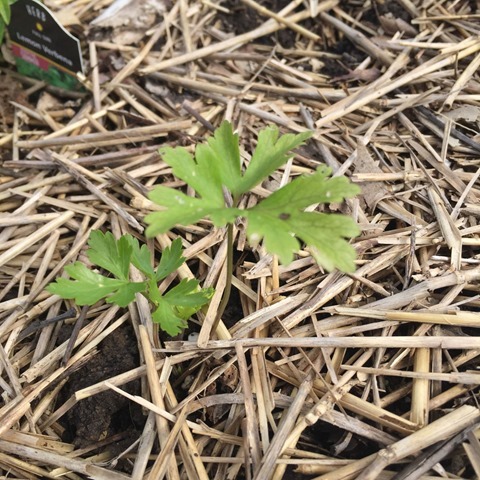
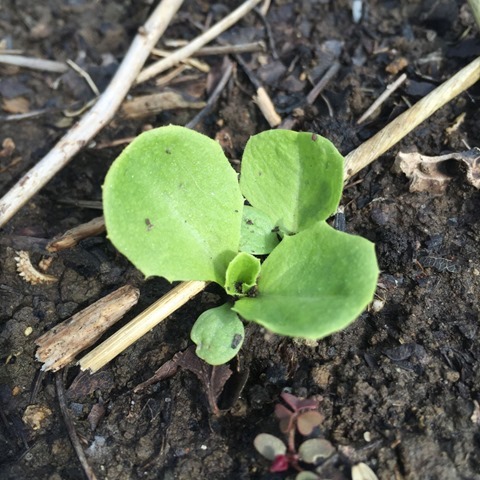
This blurry leaf is cauliflower. I hadn’t planned on growing it but picked up a packet of seeds at the seed fair on a whim. I figured since I had such great luck with the broccoli last year I’d try something similar.

Chard

The first chard is poking up. I planted about a dozen seeds with the plan to thin them back to a couple of the colors I like. We don’t eat enough of it to give over much space but it’s nice to have some available and it just keeps producing.

Garlic

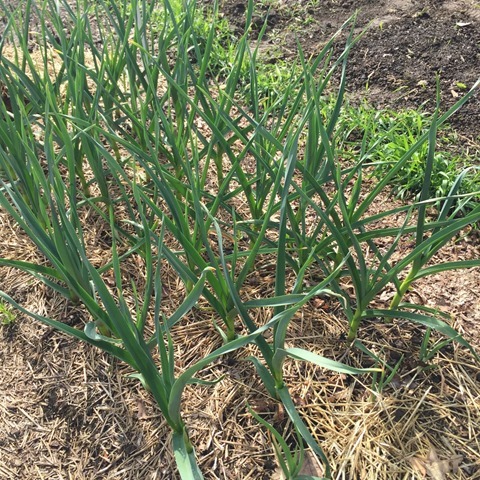
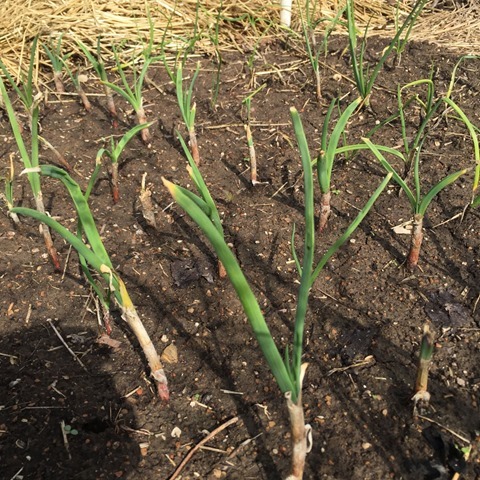
Garlic is, of course, looking awesome having been growing for over six months already. I came upon a strange thing this spring. There were a few tiny garlic plants growing in a line in one of the paths, at least I think they’re garlic. Can’t think of how they could have gotten there since I harvested whole, undamaged bulbs from the adjacent bed and I snapped off all the scapes so none of the plants went to seed, a rare thing for garlic to do anyway. I’ve moved them to a bed to grow on and see what happens.

Onions

The onion plants are starting to show new growth so I’m assuming they’ve got some new roots put down. I quit growing onions from seed a couple years ago because the way I was doing it took up so much space in my seed-starting area of the basement. I’d rather use it for other crops. An allium I don’t have a  picture of are the leeks. Despite starting them very early they go into the garden the size of hairs instead of pencils like everything I read says they should be. In spite of that, they always end up growing huge.

Lettuce

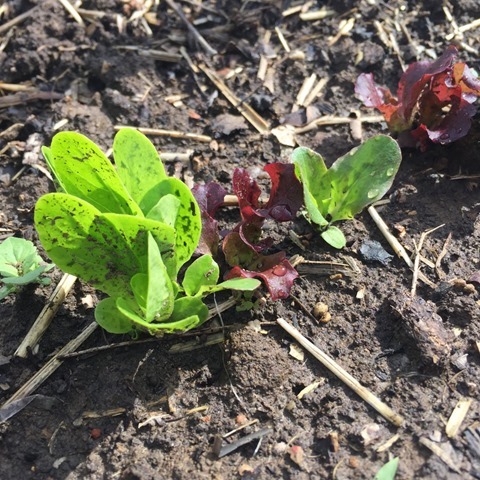
In the leafy plants department, lettuces are coming along nicely.

Covered Lettuce

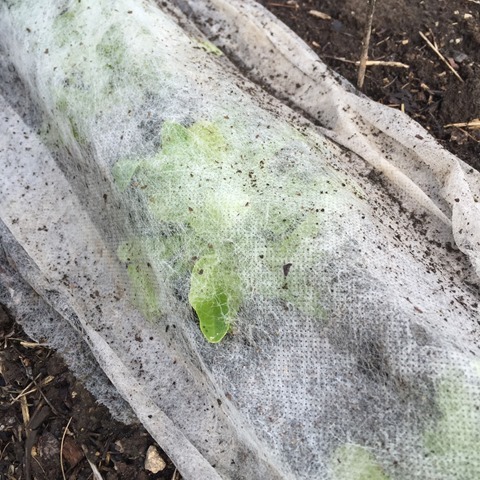
The lettuces I started in the basement and then transplanted had to be covered because something was grazing on them. The peas, too. I hope it doesn’t find the lettuce seedlings coming up in the other bed. My guess is it was turkeys or rabbits.

Cilantro2

The first cilantro is starting to show and looking good.

Parsley

Not so with the parsley transplants. I think I set them out too early. Must make a note on my planting schedule. They all three are still alive but looking rather yellow.

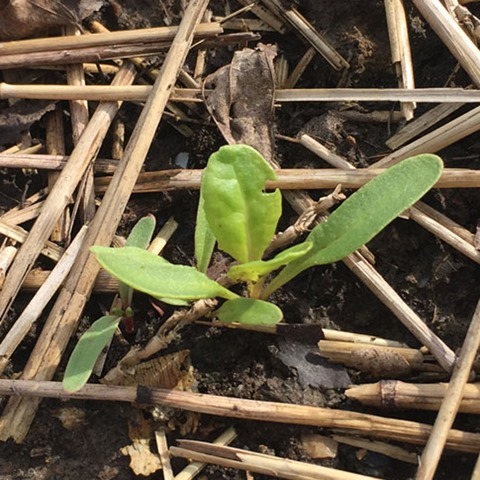
Spinach

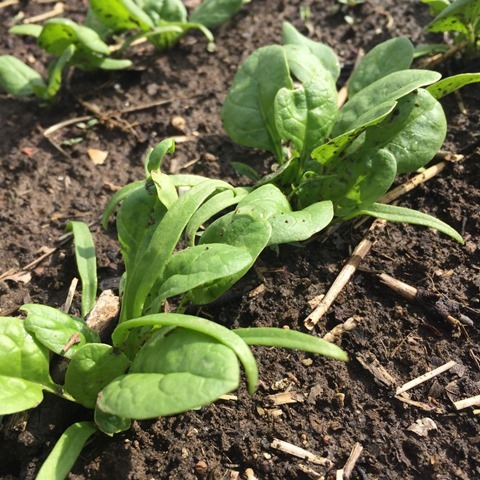
Spinach is always carefree. Looking good so far.

Rutabaga

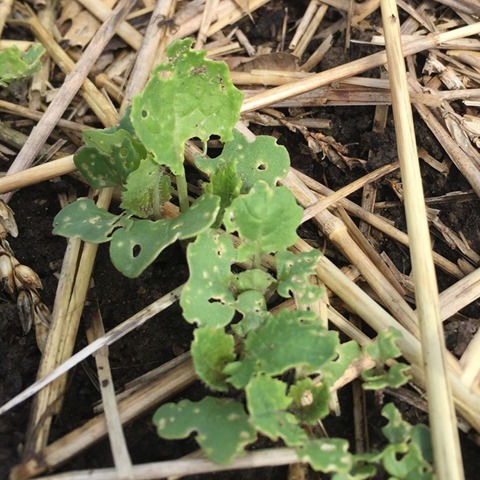
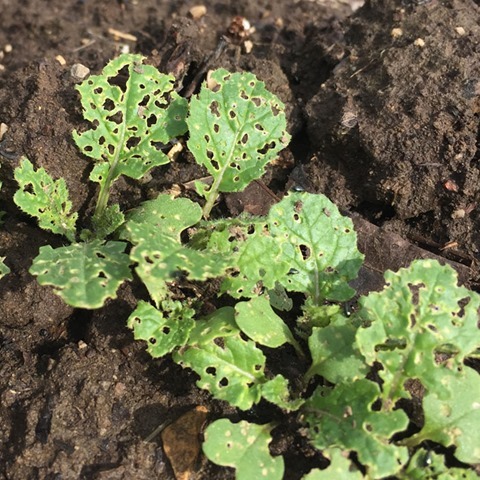
The rutabagas (I think this is them) are looking a little beat. My guess is flea beetles. They’re such a problem in the spring I don’t even try to grow some things like arugula until fall.
Radish

The radishes are even worse. I don’t really care because they’re something I can take or leave and the seeds were free. Radishes are supposed to be easy but I rarely have success with them.

Endive

Here’s something I’m giving a try again this year, never having succeeded in the past. It’s endive. I’m planning to grow it up, store the roots and force chicons this fall/winter.

Herbs

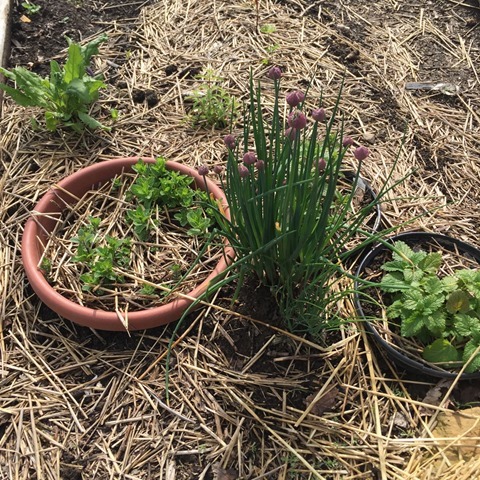
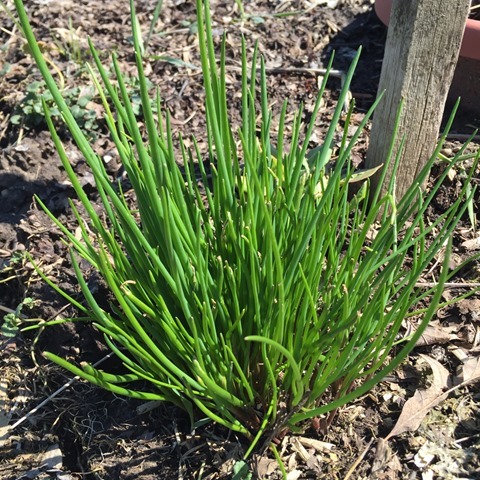
In the end of the herb bed the old mint on the left is doing fine and the new one I bought so I’d be sure to have spearmint on the right is doing even better. Between them, the chives I moved for the third time in as many years hasn’t missed a beat. I will be grabbing some of those flowers to put on salads this week.

Cal Poppies

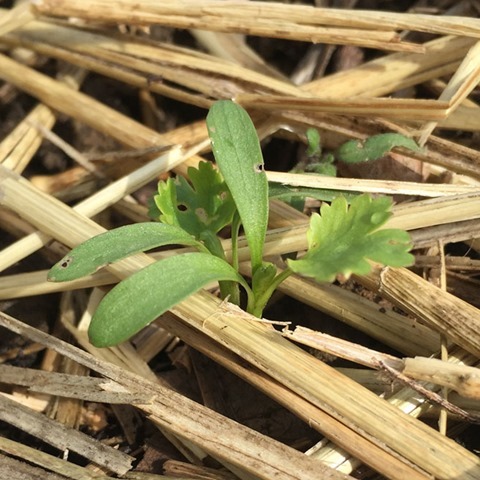
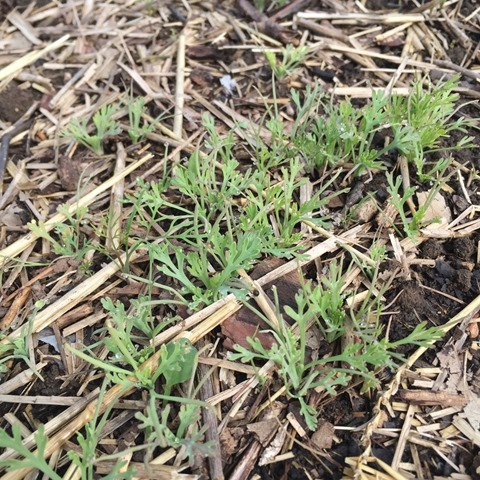
Next to the herbs, on either side of the entrance, I’ve sown California poppies, another free packet of seeds grabbed on a whim. Clearly I’m going to need to thin these as they get bigger. This year I’m doing different flowers from different sources to try to break my calendula and marigold monotony. In fact, right now the most weeding I need to get on top of is removing the calendula seedlings that have sprung up so thickly in some areas.

That’s it for most of what’s in at the moment. I’m preparing the spaces for tomatoes and peppers but I haven’t even started hardening them off, having taken a much-needed vacation out of town. With any luck the weather will start to warm now.  I’ll just keep reminding myself that everything will happen in time and fit in between all the other things.

Hello, Spring. Goodbye, Bees.

Photo Apr 03, 2 05 22 PM

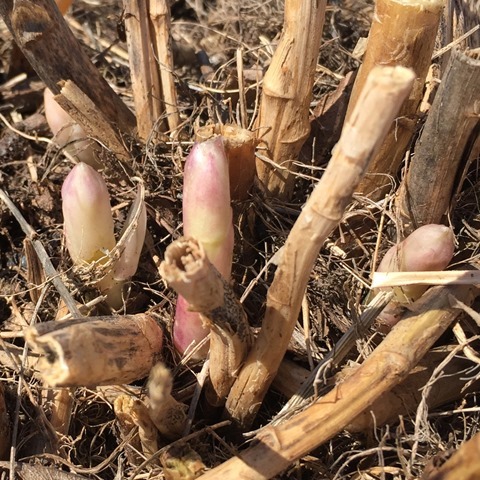
Today was the first time we’ve gone up to our community garden plot this spring. There are a few signs of green besides the occasional weed, including those healthy looking chives. I’ve dropped by a few times over the winter, but today we actually did a little bit of work, mostly clearing away last year’s asparagus stems. We found shoots!

Photo Apr 03, 2 03 12 PM

Out of all the plants, I think this might have been the only female and I’m wondering if there’s a correlation between it’s sex and that it’s the first one out of the ground. More likely it’s just the best-protected plant.

Photo Apr 03, 2 05 05 PM

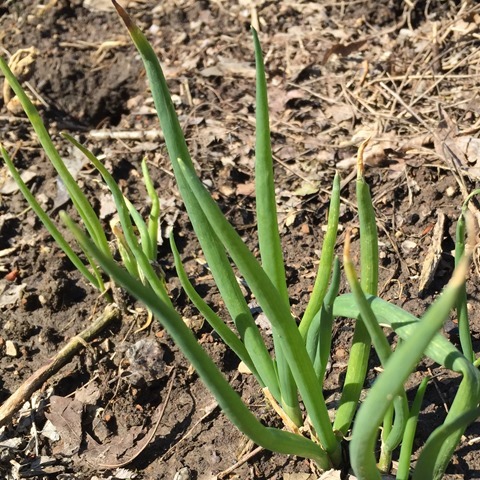
These scallions that I left in last fall are going to be ready to harvest soon. I need to make a note to grow them over the winter again. They’ve done well.

Photo Apr 03, 2 03 24 PM

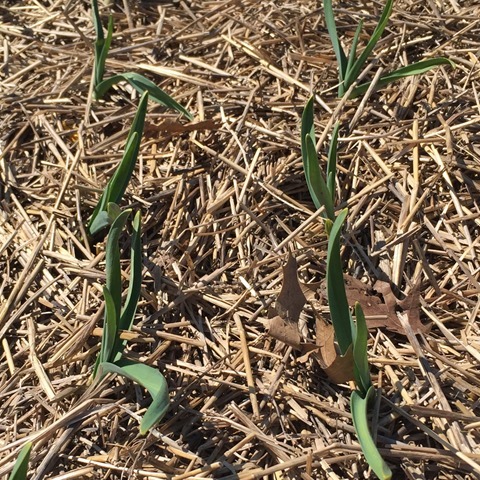
In another Allium area we found the garlic looking great. I did a quick scan of the anal-retentive grid I planted them on and it looks like every bulb I put in survived and has emerged.

Photo Apr 03, 2 05 38 PM

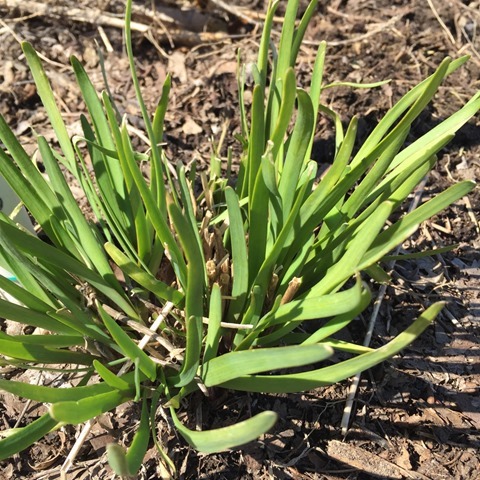
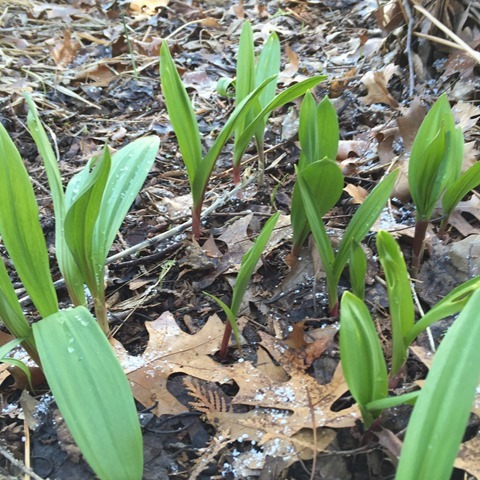
This Allium, which I thought might be Korean chives, has come back strong. I am curious to really identify it, if possible, now that I’m reading Around the World in 80 Plants.  There are so many edible Alliums! It sounds like even experts have a difficult time telling some of them apart. Which reminds me, back in the perennial garden at home my ramps, a.k.a. Allium tricoccum are up. I hope this year I can get some seed from them.

Ramps

I need to find an unobtrusive way to mark where they are planted so I don’t accidentally dig them up during this summer’s planned garden update. Maybe a circle of stones.

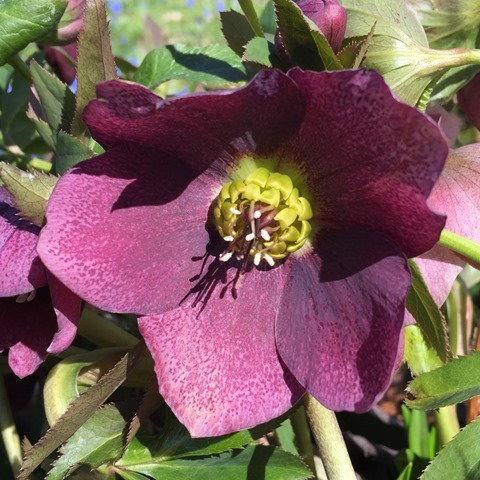
Hellebore 1

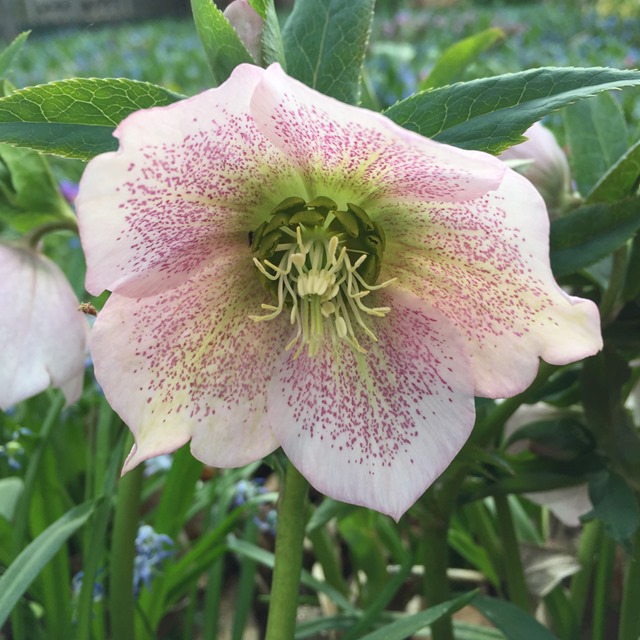
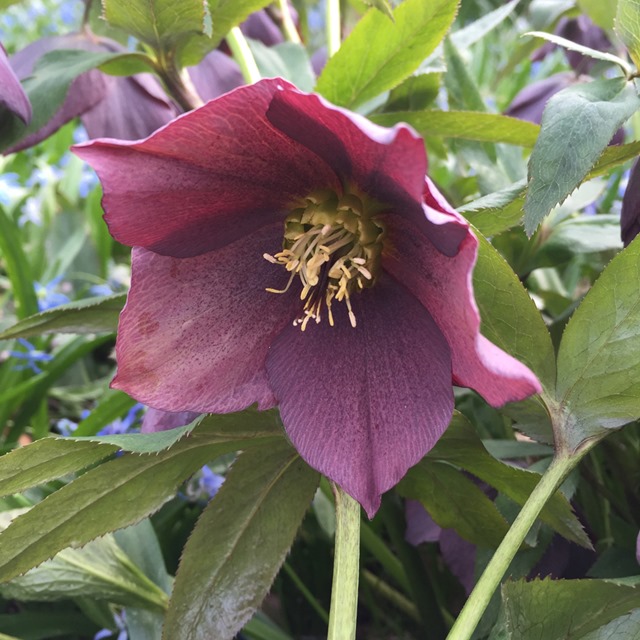
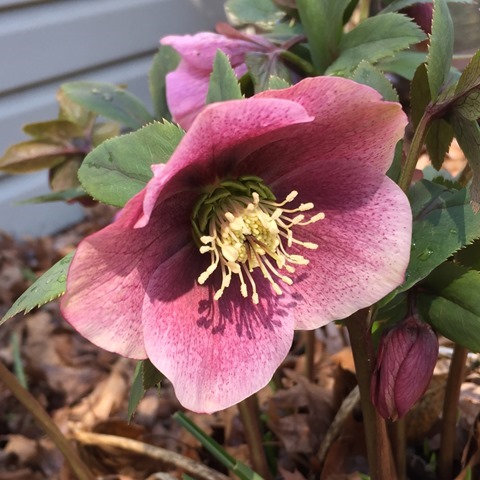
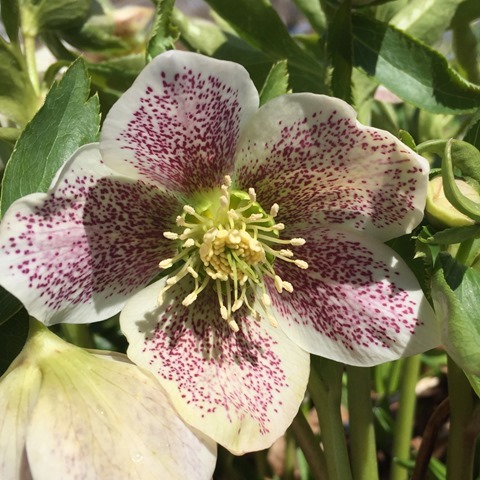
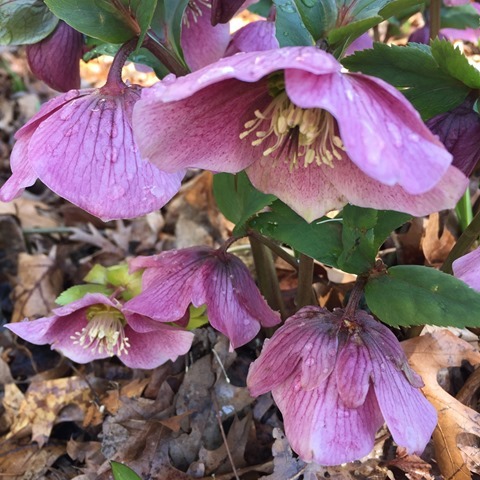
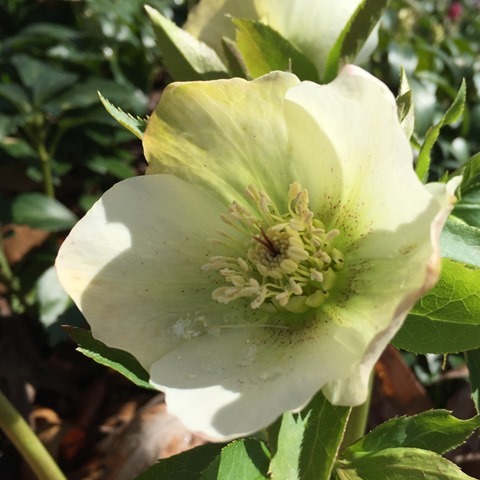
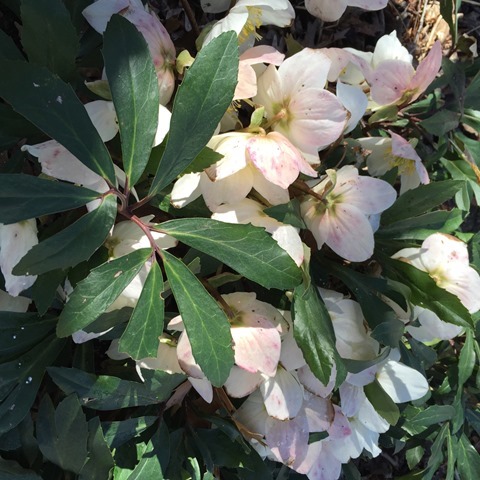
Elsewhere in the perennial garden the hellebores are stealing the show. After yesterday’s on again/off again snow and sunshine—seriously, it was a weird day— I got out to look around and admire a few blooms.

Hellebore 2

Hellebore 3

Hellebore 4

Hellebore 5

Niger

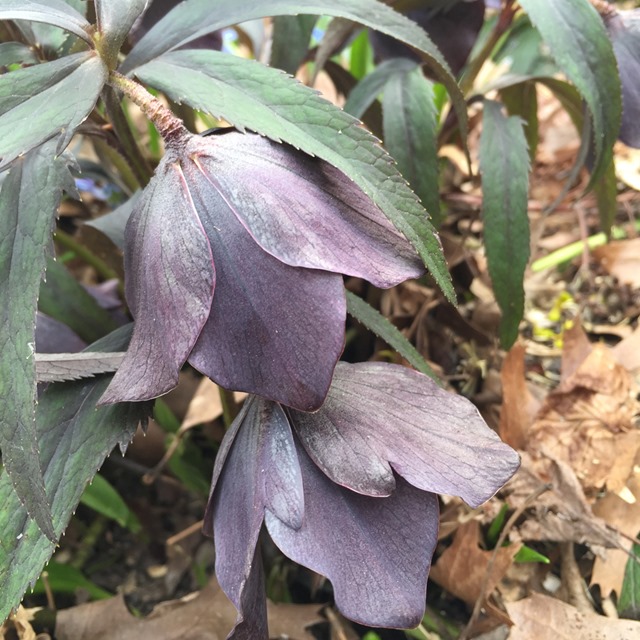
This clump of Helleborus niger var. macranthus is starting to look a little beaten-up. No surprise since it’s been blooming for about a month and has been snowed and sleeted on several times.

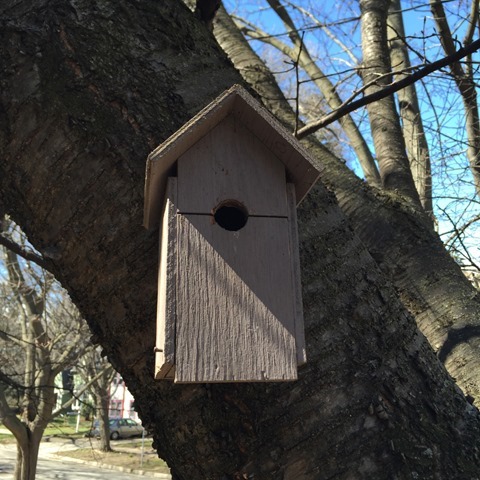
Birdhouse

The H. niger is under the cherry tree where I replaced the trashed cigar box birdhouse (thanks for nothing, squirrels!) with this one I scavenged from my late father’s shed last fall. There is already some nesting material hanging out of the backyard wren house so I thought I’d better get this one out.

Which brings me to the other animal housing update…

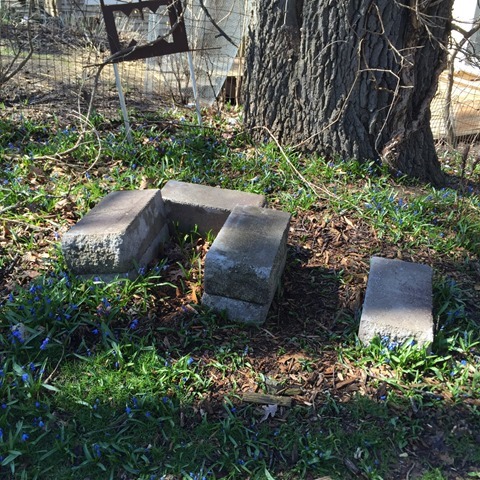
Bee Blocks

Here are the deserted blocks that, until last weekend supported my beehives. A couple summers ago I discovered the hard way that I’ve developed an allergy to honey bee venom. (The emergency room just over the hill here is very nice.) Since then, I just haven’t felt comfortable around the hives without being fully suited up. Consequently, maintenance of the garden has suffered. I recently made the hard decision to give up the bees and turned them over, along with all my equipment to my beekeeping partner to liquidate. Helen, the last hive I had has survived through two winters so he’s going to attempt to make some splits. They should be rather desirable on the local market. I’m going to miss watching the annual cycle of the hive and caring for the honey bees. They’re fascinating creatures I’ll always appreciate. In their place I’ll be caring to the extent I do to the native bees and other pollinators around my home gardens and in our community garden plot by providing food plants and housing opportunities for them.

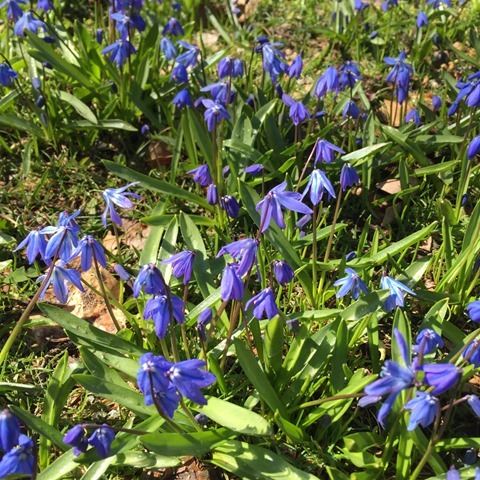
Scilla

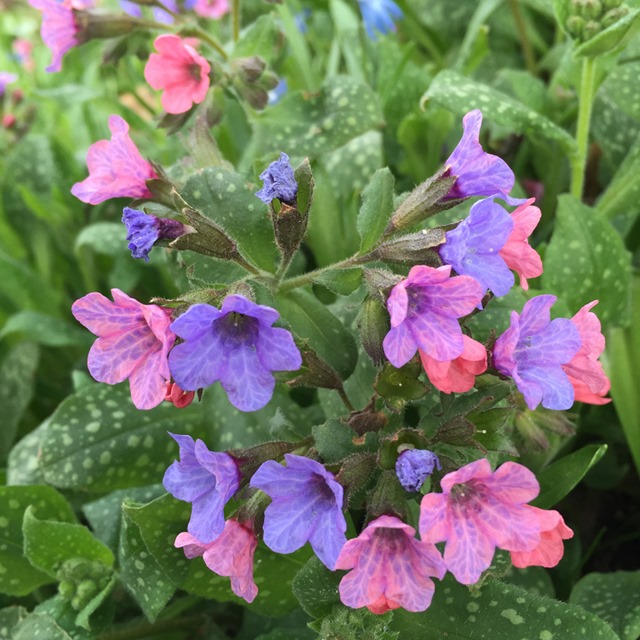
The food, of course, includes my nemesis, the dreaded Scilla. I’ve given up trying eradicate it from the back garden and hope just to keep it from invading the front. It’s still a noxious, alien weed in my eyes, but knowing it provides food for so many kinds of bees has changed my opinion of it, but only grudgingly.

Early Spring

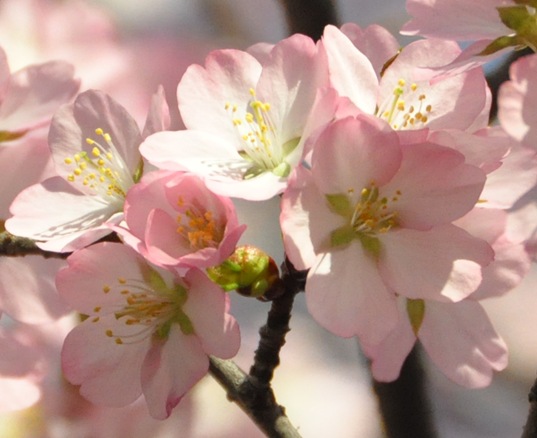
You already know it and you’ve heard it a dozen times by now, but this weather is insane. The extended stretch of unseasonably warm weather is wreaking havoc with all manner of botanical timetables. Case in point: our Sargent cherry (Prunus sargentii) that we enjoy so much every year is blooming a full month ahead of schedule. Whatever “schedule” means anymore.  Still, it’s welcome beauty.
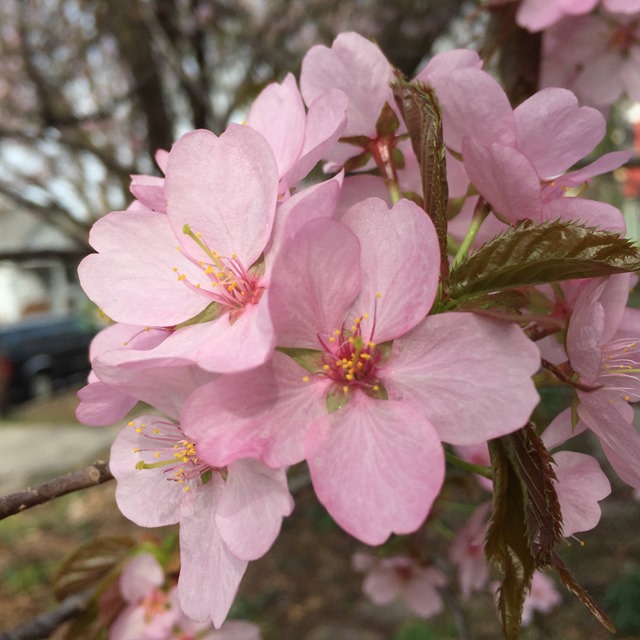
 

Cherry 2012

Post Produce: Calendula Lotion

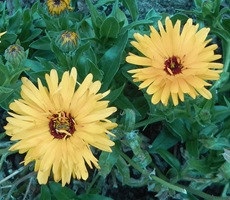
Last summer the nice Korean family gardening across the path from our community plot grew masses of amazing golden flowers. I asked them what they were and he said that they were Calendula and added that they were good for the skin. This year I grew some and, remembering what my garden neighbor said, looked into the “good for the skin” thing. Calendula, it seems, is used in different healing balms, salves and lotions. After perusing a few recipes on the Internet I decided to take a shot at whipping something up from the dried flowers I’d saved from the garden for this month’s Post Produce.

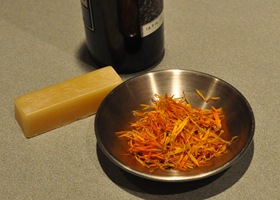
The lotion would consist of only three ingredients: olive oil, beeswax, and dried Calendula flowers pulled from four or five inflorescences. 
Ingredients


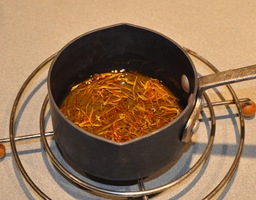
I started by adding the flowers to two tablespoons of olive oil and gently warming it on the stove. Taking it off the heat, I let it steep for about an hour and then strained the oil.


Steeping


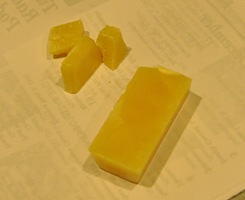
To melt the beeswax I first broke it into pieces. Beeswax is less brittle and more sticky than candle wax, I noticed.
Beeswax


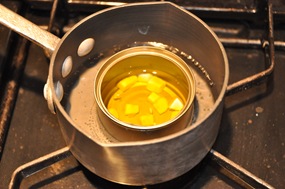
I started with six grams from my thirty gram bar.  To melt the concoction I put the oil and wax inside a clean can—not a tuna can!—in a small pan of simmering water and stirred with a wooden stick. When it looked like the mixture was still pretty liquidy and not so lotiony I kept adding small amounts of wax.

DSC_0938


Eventually I had added the entire bar. The next step I do not recommend. While I was lifting the can out of the pot with tongs I bumped the edge and splattered the oil and wax on the stove, counter, my shoe and the rug. As I was scraping and cleaning up the mess I realized there was too much wax in the mixture making it brittle so I added another tablespoon of oil, carefully placed the can in the oven on a piece of foil and alternately warmed and stirred.

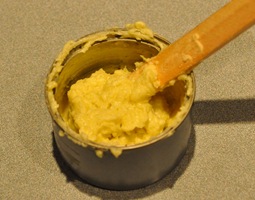
Stirring Glop

Eventually, after gradually adding small amounts of oil it appeared to be maintaining an acceptable consistency.  I scooped it into a small jar and tried rubbing a tiny bit into my hands. There appear to be some small bits of wax yet, but they smoothed out and didn’t remain a problem. This stuff is really waxy, though. After applying it I did have to wipe my palms so I could handle things without gumming them up. 

It was an interesting exercise and I ended up with some nice-smelling if odd textured lotion. Were I to do it again I’d definitely use a recipe with exact proportions. The Calendula flowers themselves were ridiculously easy to grow from seed. In fact, I noticed some seedlings springing up around the mature plants late this past summer. Whether or not I make anything with them, I do intend to grow them again.