A Little Pre-Season Look Back

I peeked in here earlier this week when I came to approve a comment and was a little dismayed but not surprised to see I haven’t posted anything for nearly two months. I’m not even going to say “Yikes!” I stopped posting about food and cooking quite a while back. I decided my photos weren’t very good and there are so many other, much better food blogs. I blog to learn about and enjoy the community of gardeners. But, the thing is, in my part of the world the gardening season is limited. This winter I’ve been putting more time into other projects while I have the time. They are the things that will similarly get put on the back burner when spring finally rolls around.

Still, there has been some garden-related activity. I’ve been planning and preparing for the coming season. I got some new shop lights this week to expand my seed starting area and I tested a bunch of old seeds to see if they would be OK to share in the seed swap a friend of mine has mentioned hosting. Spoiler alert: The tomatoes all did great, even the ones that were several years old. Woot!

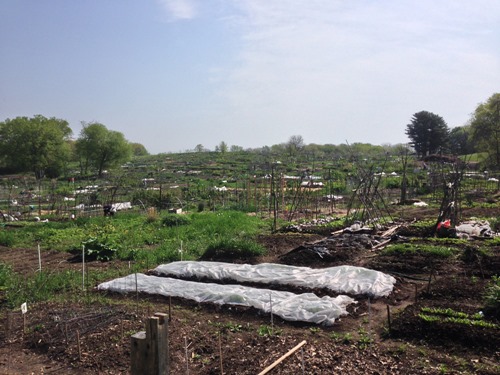
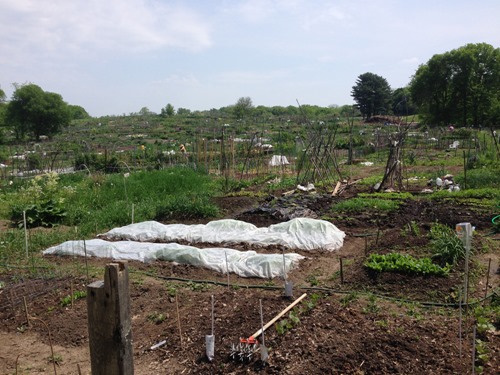
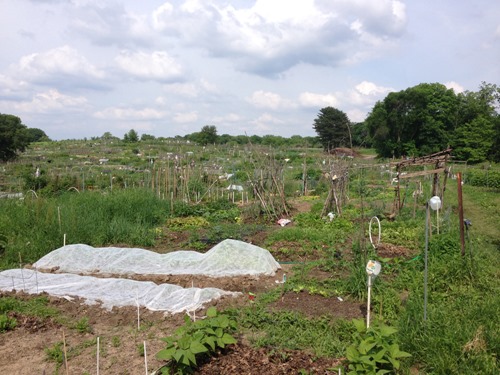
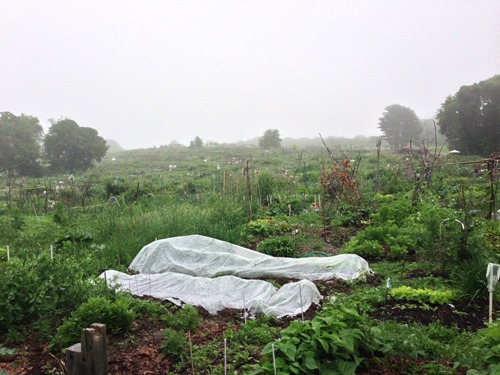
Anyway, just to stay in the blogging groove and to keep from forgetting how to use the software, I’m going to share a little series of photos with you. Last season, I got the idea of taking an image of the gardens from the same spot over the weeks and months. I’ve pared the collection down to some representative ones that show the progression of the plots over time.

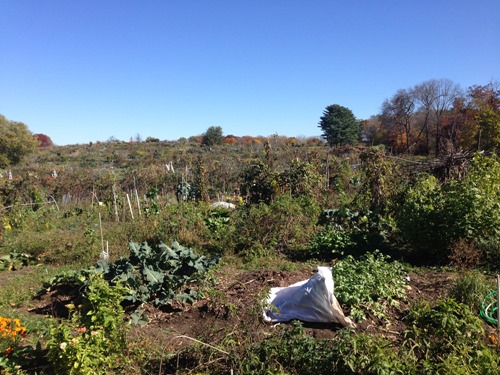
2014-05-20 09.55.27 HDR

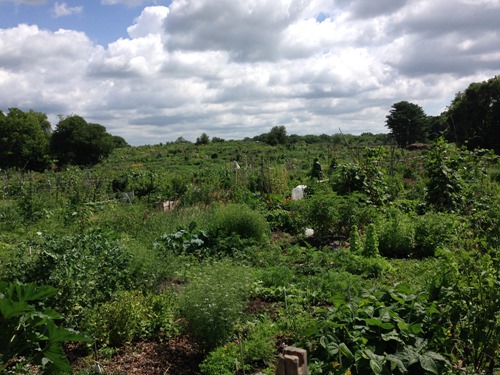
May 20—Most gardeners have been at it for weeks already, myself included.

2014-05-26 11.36.45

May 26—Only a week later and you can see how much someone’s lettuce there in the right foreground has grown. So has that patch of weeds to the left of the image’s center. That’s the neglectful neighbor’s plot I wrote about once. My plot is the one just about in the center of the image. You can just see the light brown posts I put up for my tomatoes. In the right of the image is some of the abundant stickwork my kitty-corner neighbor does each season.

2014-06-09 16.09.37

June 9—A couple more weeks and those beans in the foreground have really taken off. On the right you can see a trellis platform up on poles. She grew pumpkins up on that!

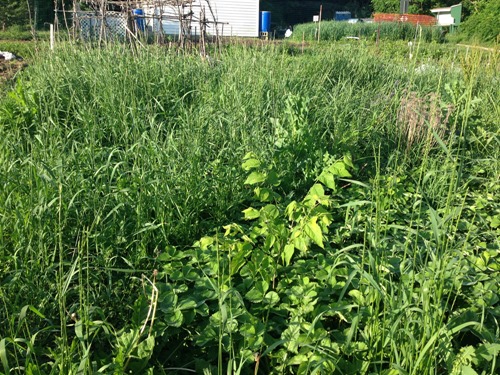
Photo Jun 21, 6 10 12 AM

June 21—Things are really getting lush now.

Photo Jul 13, 11 14 57 AM

July 13

9-14

September 14—I somehow missed taking pictures in August. We did leave town for a couple of weeks to go camping and I guess I just neglected this project the rest of the time.

Photo Sep 28, 4 18 33 PM

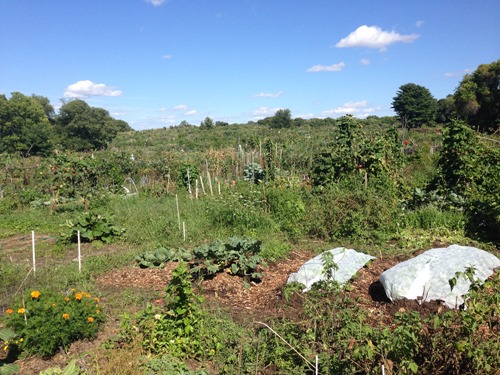
September 28—Trees are starting to color and it’s getting dark earlier. The row of trees to the west of the gardens starts casting its shadow farther into the garden every day at the same time.

Photo Oct 06, 11 44 47 AM

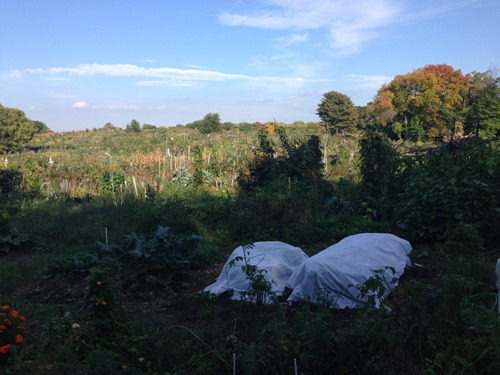
October 6—Things are starting to definitely look past their prime. This is about the time of year we could start getting frost but it hadn’t come yet.

Photo Oct 25, 12 22 25 PM

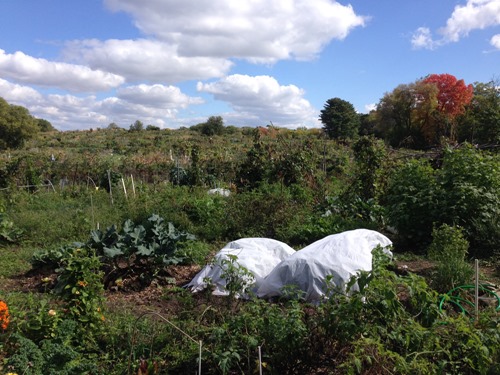
October 25—Still no frost/freeze. This is why I just go ahead with fall crops as if the frost date might be weeks later than anticipated. Sometimes it is.

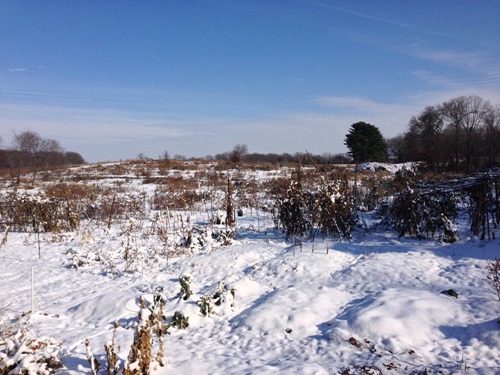
November_28__2014_at_1202PM

November 28—A month later everything has changed. We were still picking Brussels sprouts, of course, but for most everything else it was over.

I’m finding I enjoy looking through the images I took in the garden over the past seasons and years. Sometimes they serve as a reference of what a particular crop was doing at a specific time. It’s also just nice to have some reminders of what a green garden can look like months after it’s all been covered in snow.

Do you ever just flip through old garden pictures and enjoy remembering?

Community Garden Drawback Number One: Neighbors

That title doesn’t sound very good, does it? I’ve been wanting to write a full post on all the positive and negative things about community gardening I’ve been noticing over the years but just haven’t got it together. Since I did a previous post on one of the positives quite a while back, I thought I’d just start throwing out random ones over time as they occur to me. I even contemplated designating them as “Crops and Flops” or “Bests and Pests” but nothing inspired  (obviously) has come forward as a name I haven’t already heard so I’m just going to muddle on. If you have any brilliant suggestions, I’d be glad to hear them.

The first of my garden gripes I’m going to share with you, neighbors, has been near the forefront of my gardening mind lately. The plots are laid out in our gardens in paired rows with a grass path between each pair so most of us are surrounded on three sides by other people’s plots and a strip of grass. The rules require gardeners to keep an open path on all shared sides for easy access. We’ve got a range of weed tolerance around us ranging from a long-time gardener who is more casual than we are but keeps the more aggressive weeds in check to the two half-plot gardeners that back up to us and appear to think it’s rude to weed too close to the edge. Consequently, on that side there are grass and raspberry runners I got so tired of repeatedly beating back I finally just buried boards on edge as a wall against them.

The third side is the big concern this season.

Weedy

The gardener in this plot has, since at least when we began gardening next door, typically waited until late May to get it tilled except for the nice, round herb bed in the center. They then plant and heavily mulch the entire thing in one fell swoop. It really was an interesting and inspiring garden bordered by tomatoes and sunflowers with squash rambling beneath. Weeds weren’t removed religiously, but it was tolerable. I’m not really the grouchy perfectionist garden neighbor, though I may sound like it today. I just have a different style.

Now it’s late June, the Summer Solstice is tomorrow, in fact. For whatever reason the plot hasn’t been touched and is a jungle of waist-high grass and weeds. You can even see a tree sapling off to a good start. The gardener was issued a warning over two weeks ago and given, I believe, two or three weeks to clean it up or surrender it. Unfortunately, the period when warnings are given and the time gardeners are given to comply allow weeds plenty of time to flower and set seed. All we neighbors can do is try to defend our borders.

Much of what may seem like this kind of bad garden neighborliness is, I truly believe, just inexperience and some ignorance about weeds. In the case of our particular gardens, cultural attitudes may come into play as well. The garden committee and individual gardeners do what they can to educate and help. Still, when I’m pulling up rhizomes that zipper off our plot and into the neighbor’s I start to fantasize about the day I have a garden of my own at home I can truly control on all sides. But then I’m sure I’d miss the perks of community gardening. I promise next time to write about one of the positive aspects of gardening on land shared with others so I don’t sound like such a grouchy old man.

Community Garden Tour: Structures

One day I was looking around the community garden where The Co-Conspirator and I have a plot and started noticing the variety of structures people had made to enhance their gardens. Most were functional but a few were more decorative.

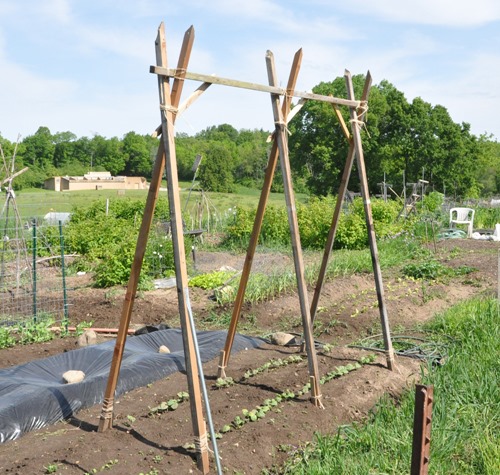
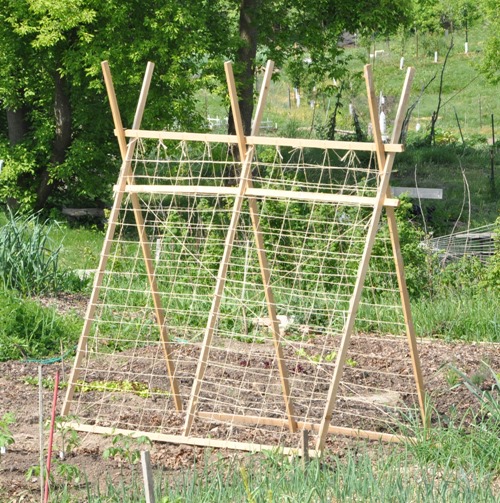
01 Crossbraced

Here, for example, is a simple cross-braced frame. I don’t recall what was growing beneath it, but it was presumably something that would need to climb.

02 A Frame with Net

This similar structure has a twine web over it for more climbing space.

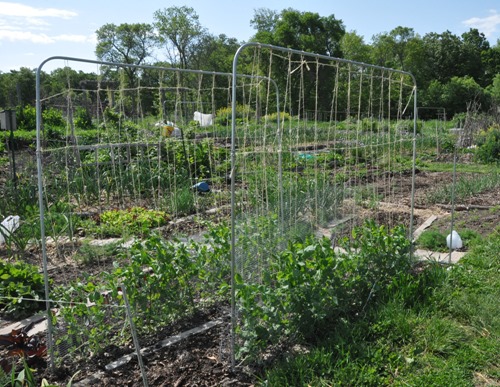
03 Pipe and String

Here the web is on single-sided panels framed with metal tubing. I prefer a flat arrangement like this because I can get to both sides without having to crouch through a tunnel.

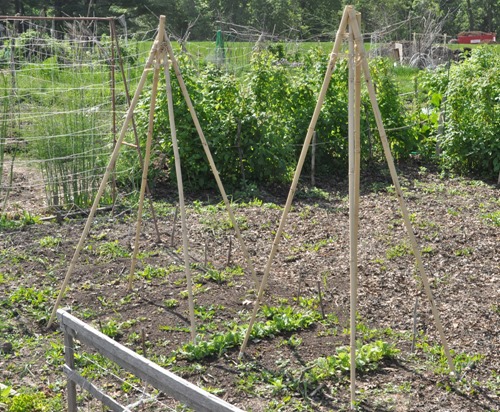
03 Simple Teepees

I made tee-pees for my pole beans to climb but they weren’t as neat as this since I constructed them from rough sticks and discarded Festivus poles. The beans didn’t seem to mind.

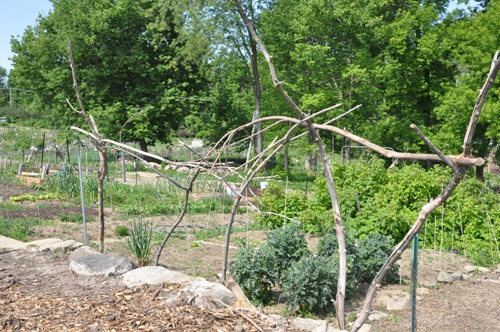
04 Curvilinear

This freeform trellis has a lot of character. I regret not going back to see what it looked like when plants grew on it.

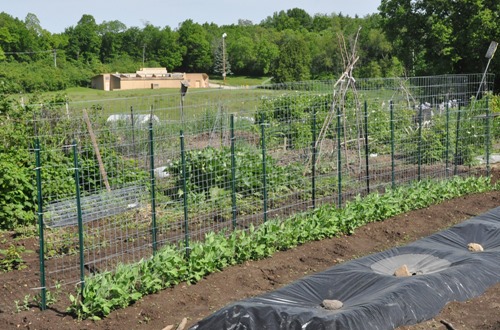
05 Posts and Wire Fencing

Some seriously sturdy supports can be built of metal posts and fencing material.

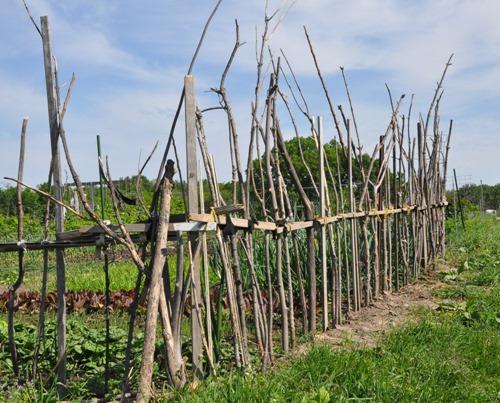
051 Stick Fence

This interesting fence was composed of a variety of sticks with a single crosspiece.

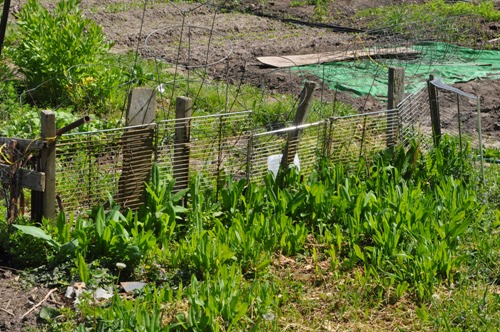
06 Rack Fence

Not especially attractive but frugal, this little fence is made with what look like wire shelves from an oven or refrigerator.

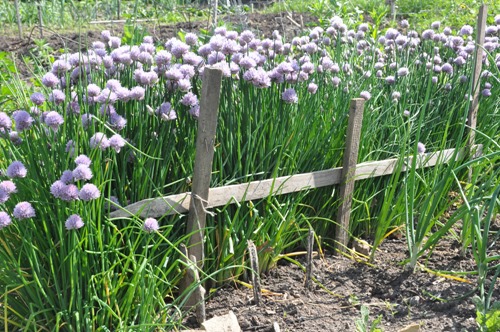
07 Chive Fence

On the other hand, this simple wooden fence holding back some Alliums fits right in the garden.

08 Scrollwork

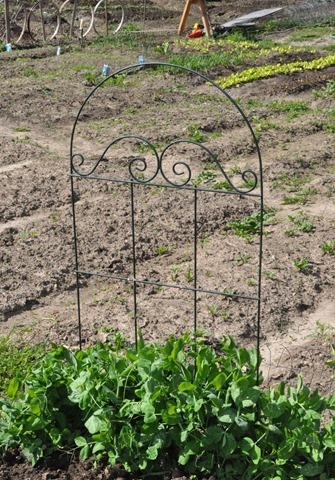
On the other other hand his commercial scrollwork trellis looks almost too nice for the  gardens.

09 Hay Tunnels

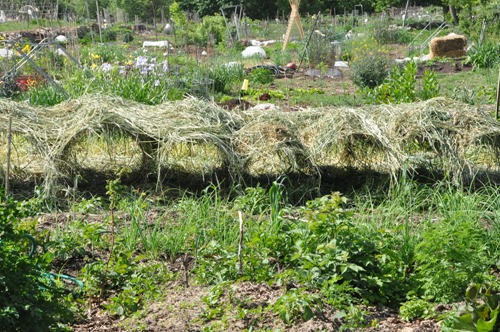
All I can assume about this construction is that it’s meant to provide some shade. I really don’t know. Just thought the little hay-thatched tunnels of wire fencing looked kind of cool.

10 Torii

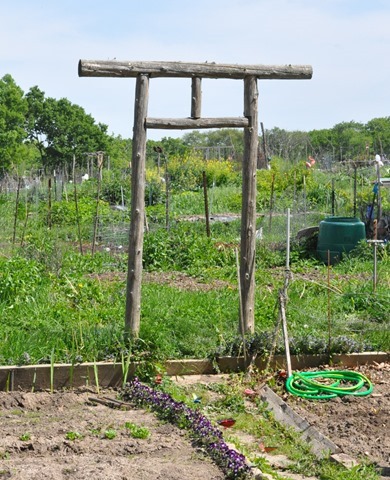
This attractive gateway has been in place for several years. While it may not be strictly within the rules of the garden, it adds character.

11 Arbor

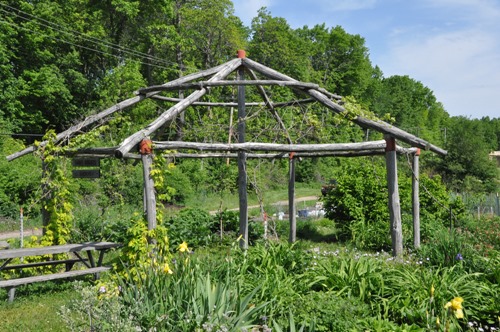
Like the gateway, the community arbor of the gardens is constructed of rough logs. It provides a nice outdoor meeting space and has been the setting of at least one art exhibit that I know of.

What sort of structures have you built in your garden to support plants, keep out pests or just enhance the space?

Community Garden Perk Number One: Free Seeds

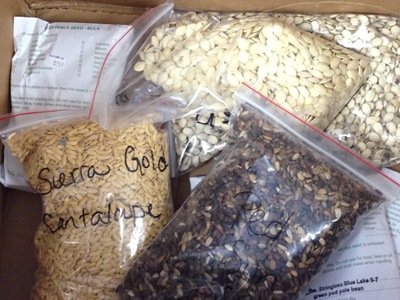
One advantage of being part of a community garden is that the group can solicit donations of materials and supplies. We’re fortunate that members of our garden committee have been able to obtain seeds from various suppliers. I believe they’re seeds from previous years and so may be considered unsalable. But as I covered in a previous post, seeds of most crops remain viable beyond the year they are produced. When they were received, many of the seeds were in large, bulk packages

Bulk Seeds

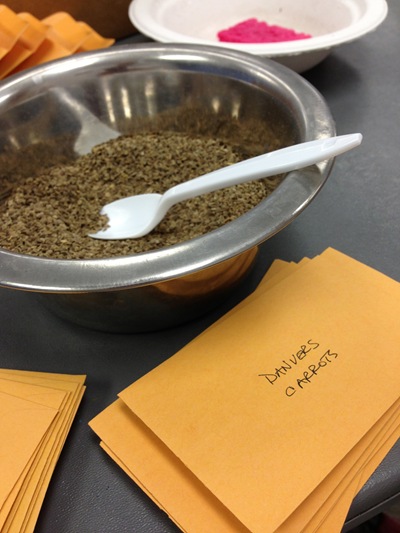
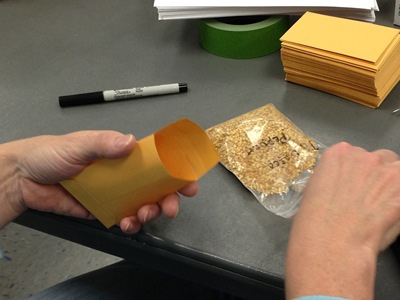
So it was that I and other members of the garden committee gathered recently to portion out the seeds into envelopes to be distributed to gardeners at the upcoming Seed Fair. I managed to grab a big bag of small seeds—Danvers Carrots—and consequently ended up spending over two hours spooning them into somewhere around six hundred envelopes that another gardener was hand labeling. 

Danvers Carrots The committee is a fun group of people so the time went fast and it was a nice opportunity to talk about gardening and get to know the other members better. There was also food, of course.

Envelope

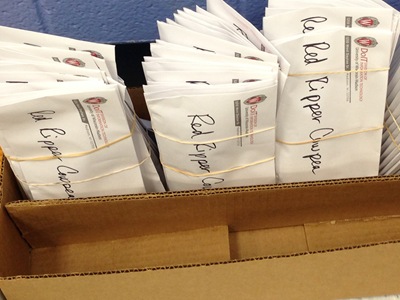
By the time we were finished there was an impressive number of  filled envelopes. These will be offered along with pre-packaged seeds to the hundreds of gardeners that share the garden. Each gardener will be allowed to take a dozen packets of their choice. That’s a pretty good deal.

Finished

Home-Grown Black Bean Chili

BeanzThere really isn’t much to this recipe but a friend asked about it so I thought I’d try writing it out. It’s just something simple I threw together to use some fresh shelled black beans I had on hand. My Black Valentine bushes produced a second flush of pods late this summer that didn’t have time to ripen and dry before the cold weather hit. You can, of course, cook dry beans to use or even resort to canned beans if you absolutely have to.

  • 2 teaspoons canola oil
  • 1/2 medium white onion, diced
  • 1/4 cup peppers finely diced — blend sweet and hot to taste
  • 2 cloves garlic, minced
  • 2-3 teaspoons chili powder
  • 2 cups diced whole tomatoes
  • 2 cups cooked black beans
  • salt

Heat canola oil in a saucepan and in it sauté the onion and peppers. When they’re softened, add a couple cloves of minced garlic and chili powder. Sauté half a minute more. Add tomatoes and cook until they’re soft. Dump in the black beans and simmer gently to blend the flavors, about 20 minutes. Salt to taste and serve. When I made this I purposely tried to primarily use produce from my own garden and did pretty well. Only the oil, chili powder and salt were purchased. I’m looking into making my own chili powder but it’s going to require a better cumin crop than I had this year–which would be any cumin at all. I was inspired to try the bit of frying the powder with the first round of  veggies from a lot of the Indian recipes I’ve made. I believe the theory is that the more intense "dry" heat brings out the flavor and toasts the spices before adding the liquid component. In any case, this was tasty for being so simple. Doubtless there are many variations I could try, especially in the home-grown vegetable department.

The Garden in November

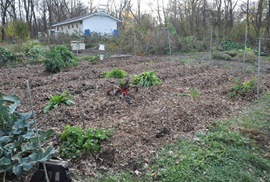
The garden is ready for winter, as far as I’m concerned. The last big project this year was to reshape the layout of  last year’s half of the plot. I had originally created beds running north/south which resulted in them also running up and down the slight slope rather than across. As a result I had to be extra careful when watering in newly seeded rows. If it rained hard, the water pooled and ran down the row dislodging the carefully placed seeds. As beds became close to empty this fall I worked on digging and shoveling to reorient them east/west and thus across the slope so the tops could be more level. I also made the beds a full three feet wide. Previously I had limited their width to whatever I could easily step over. Since they ran the full length of the garden I didn’t want to have to walk all the way around one to get to the next row. In the end that didn’t prove to be an advantage since it was more the height of the plants that determined what I could step over. I drafted a fairly accurate representation of the previous and new bed layouts in AutoCAD and it appears that we gained a bit of plantable area.


November GardenAfter the new beds were established I dumped a load of partially composted leaves on each one and roughly spaded it into the top eight inches or so of soil. There is a good amount of clay present in the garden so we take advantage of any opportunity to add 0rganic matter and loosen it up. I left the surface rough to slow water running off it through the fall and winter. Finally, a thick layer of leaf mulch was spread on all the beds and paths. Fortunately there are still a few living plants or the garden would look like a dozen unmarked graves.


Last year I made a note in my garden notebook to ignore the typical predicted first frost date of somewhere around the last week of September or first week of October. I sort of heeded that by planting some fall crops that would take me past that date, but I held off doing a cover crop because by the time I thought of it I was sure it wouldn’t have time to grow. While we may have had a light frost up there, we’ve been nowhere near a real freeze for over a month past the expected dates. I kind of wish I’d taken a chance and put in some buckwheat anyway, but at the time I hadn’t yet done the bed rearranging. Next year I definitely plan to do a cover crop of something.


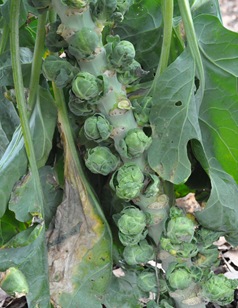
The biggest veggies still surviving and producing are the Brussels sprouts. They’re going to make an appearance on the co-conspirator’s Thanksgiving table. My note for next year is to plant them a lot farther apart.

Brussels Sprouts

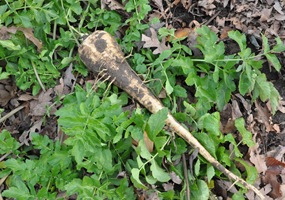
A few parsnips are still in the ground but I pulled one to cook some time this week. We tossed one in when we roasted a chicken recently and it was wonderful. One aim of loosening the soil is so that we can grow better root crops. The parsnips did OK, but we had a lot of forked carrots. There are some more unusual root crops I want to try next year as well.


Parsnip

Off in the corner where I planted cilantro that promptly flowered and went to seed is…cilantro! I thought I had harvested all the seed to use in curries and such, but apparently I missed some. The volunteer plants are growing much better than the potted plant I bought last spring so next year I’m just going to direct-sow this crop. I’m one of those people who thinks cilantro tastes like soap. I used to loathe it but now I merely dislike it. I’m working toward tolerating it and perhaps one day actually liking it.Cilantro

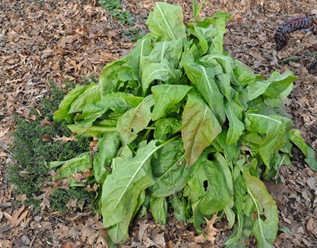
Another herb that is still going like crazy is the French sorrel. It’s too bad because I never did find many uses for it this season. I had no idea it would get this big, nearly smothering the winter savory I planted it next to. I don’t even know if I should be using the big leaves or only the tender young ones. If you grow this one, let me know how you use it.

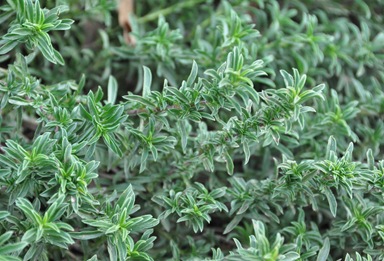
French SorrelThe winter savory was used at least a little. It went into bean dishes and I believe I used it with chicken once. It kind of reminds me of rosemary which I’ve never had any luck growing. Hopefully it will make it through the winter and come back next season.

Winter SavoryI suppose I could be doing some season extending things like a little coldframe or some row cover, but what with rearranging the layout—a process that took multiple sessions of work over several weeks—it looked like it would be a logistical pain in the neck and a bit of overkill. Maybe next year I’ll experiment more with fall and early winter crops, but for this season I really feel like I’m ready to be done.  Now to start really planning next year’s garden! 

Tomatoes

I’ve wanted to write about tomatoes for a while now, but I just couldn’t figure out how to approach the subject. To me, tomatoes are one of, if not the best reason to have a garden of one’s own.

This season I “undertook” growing tomatoes like never before. I decided to get into cultivating them, coaxing them toward maximum production, treating them like the special, Chosen plants they are. The results have been fairly satisfying.

Have you seen the movie “Ratatouille?” Do you remember the scene where Anton Ego takes a taste of the special ratatouille and is immediately transported in his mind to a childhood moment where taste and memory meet? Tomatoes do that for me.

I can munch (if I had to) on the pathetic, bland commercial tomatoes from the grocery store all year and not feel a thing. There’s nothing to them. But when I get my first, real local.,home-grown tomato of the summer my eyes close and I’m taken back. I don’t know when it is, but I can picture exactly where. I’m at the supper table with my family and there’s a plate of thick slices of vine-ripened tomatoes. They were, and still are, the best thing I’ve ever tasted in my life. Hands down.

So far the tomatoes I’ve harvested this summer have become snax-off-the-vine while gardening, salad items, sandwich additions and tasty side dishes all on their own. I’ve also cooked them into thick sauce with and without spicy local Italian sausage. Today I oven-dried a big batch which, of course, became a little batch of concentrated savory/sweet flavor. They’ll be stewn on pizzas and folded into pastas over the coming months and taking me back to this time when ripe tomatoes that actually taste like tomatoes are easy to come by.

A Quick Garden Update

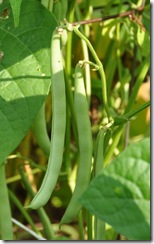
With temperatures approaching those found on the surface of the sun and humidity in excess of 150% we haven’t been spending a lot of time in the garden this week. Still, an occasional visit is necessary to make sure everything’s OK and to pick the beans so that they keep producing more than we can eat. We tell ourselves we’ll freeze some and eventually we will. We’re currently only picking the Pencil Pod (yellow) and Royal Burgundy (purple) bush beans. The rest of the beans are being grown on to the shell or dried stage. I harvested both yesterday.

All the while I was doing it the resident hawk was all, like “OMG! You’re picking beans! That is so cool!!!”

I also checked how the other crops were coming along, especially the tomatoes and peppers. I picked a couple more really ripe Sungold cherry tomatoes that went straight into dinner’s salad. There are a bunch more that will be coming on soon.

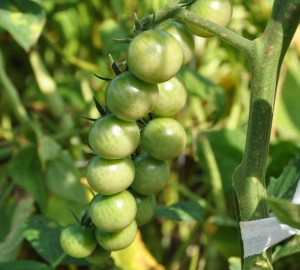
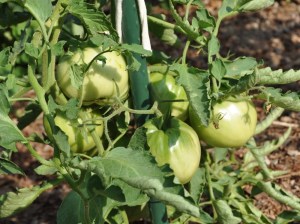
The larger varieties are holding a lot of fruit right now that just needs to start turning red, except of course for the Tasty Evergreen that never will. I wonder how I’ll know they’re ripe. Here are either some Carbon or Italian Heirloom. I forget which.

In the pepper department the first poblano is starting to get some color on it.

It’s going to be dark and tasty while the Jimmy Nardello’s Sweet Italian Frying Pepper near it is turning an inviting bright red.

A good bunch of Early Jalpenos are forming, too.

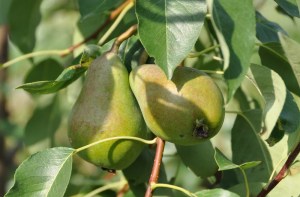
On the way out of the garden I passed one of the community fruit trees. It’ll be interesting to see if the fruit is allowed to ripen. One of the drawbacks of community gardens is that there is pretty intense competition for shared resources. I don’t even bother looking over the shared raspberry plants anymore. People are so anxious to get them before someone else does that the majority of them are picked when they just start to turn color. For the time being, the little pears are pretty and I can enjoy them at this stage just hanging on the trees.

A Little Appetizer


Sunday was oppressively hot so naturally I decided to go the the garden and take care of a few tasks. I’d been reading up on when to harvest garlic since our plants were showing signs of slowing down. Bottom leaves were browning and drying up as were the tips of most of the rest of the leaves. I decided to take a chance and harvest the whole crop. I’d dug a couple of bulbs over the past week or so and they seemed ok. In the end, counting the two early harvests we ended up with forty-three bulbs from the forty cloves we planted. I think that’s a pretty good success rate. The three double bulbs were all the same variety.

In the process of digging them up, I nicked one of the bulbs. Since it wouldn’t keep for long in its damaged condition, I went ahead and roasted it in a little olive oil. The resulting, sweet/savory paste inspired me to make a little appetizer that ended up comprising most of my dinner. I toasted a couple slices of some grainy bread from Clasen’s which I then further browned in a pan with some olive oil. Honestly, Clasen’s makes some decent pastries, but their country style breads really are the Wonder Bread of artisanal loaves. But, they were two for the price of one so how could I pass that up? Additional heat helps.

I plucked some basil from the pot on the deck and sliced up a tomato from Flyte Family Farm. After spreading the lucious garlic paste on the bread I layed on the tomato slices, sprinkled with some basil ribbons and hit with another drizzle of olive oil. The bread was still too soft, but on the other hand it didn’t shatter and send the toppings flying. I would definitely make this again but with a heartier bread.

Making it Up as I Go Along

Last night I came back from the garden with a random load of produce and no real plan what to have for dinner. The only thought I had was that I should cook some collards because, dangit! we’ve got a lot of collards. I decided a savory, flavorful braise was probably the way to go. Scouting through the fridge and pantry I assembled some ingredients I thought might work together.


For aromatics I grabbed one of the white onions from the garden and a clove of garlic from the Westside Community Market. Braising liquid would come from the tomatoes, also from the Market, and a super special rare ingredient. The jar contains tomato pepper water. When I make salsa I like it to be chunky. The problem with that is that in processing, a lot of water is forced out of the vegetables. Now, when I open the jar, I drain the salsa and keep the flavorful liquid for other purposes such as this.

The results were pretty tasty but I couldn’t eat it all. I’m sure it will be good left over.

My second course starred fava beans. I wanted them to really be the center of attention so I paired them very simply with some French sorrel and scallions.

A lightly fried the onions in olive oil and then added the beans, tossing frequently to get them warmed–they were already cooked in the blanching/peeling process–and then allowing a little caramelization before I tossed in the chiffonaded sorrel. The herb may have cooked a little too much but it provided a tangy addition to the dish.